Wednesday, 29 July 2015

Garden Revamp 4.0

Back again with another small garden update. The concrete foundations have been laid and the wall is on its way up. Hurrah! It's really starting to take shape and I can get a better feel for the area I will eventually be filling with beautiful plants. 


We're currently two dense bricks deep and fingers crossed that the whole structure will be completed this week. (Let's just hope the weather predictions of heavy rain are incorrect.) We're very lucky that we've been able to borrow a lot of the bigger tools from friends and neighbours. Things like the cement mixer and angle grinder, it means that we don't have expensive deadlines if we take a little longer than if we'd have hired them. It is definitely worth asking around, you never really know what your friends have in their garages! 

Once the flower bed structure is up we will be looking at rendering the walls that I will eventually be painting a lovely dark grey colour. I want to jump to the finishing-touches phase but I must be patient. 

Claire x
SHARE:

Monday, 29 June 2015

Garden Revamp 3.0

Hello, I'm here with a little garden revamp update. The weather has been a little off lately which has slowed us down a tad but we're making progress, even if it is slow and steady. 

My extremely hard working husband has dug out the foundations in preparation for the building of the raised flower bed. The foundations have to cover a larger footprint than the actual structure itself, this is to provide sufficient support and hopefully prevent any unwanted movement. The digging and shoveling were no easy tasks as the ground is full of roots and rocks, so hats off to him because I'm sure it would have taken me days (or longer!) if I were to attempt it on my own. 
Looking from the back of the garden towards the house
Foundations dug for the raised flower bed
With the foundations in place we've been busy ordering the next lot of supplies (concrete and bricks) that should be delivered this week, and with a heat wave apparently on its way to the UK hopefully we'll be able to get lots done. It's a shame we won't be enjoying the heat wave relaxing in our garden because as you can see it is definitely resembling a builder's yard more than an oasis of peace and tranquility. 

Must. Remain. Positive. ;)

As always, let me know your thoughts or whether you have any tips you'd like to share. 

Claire x
SHARE:

Wednesday, 17 June 2015

Garden Revamp 2.0

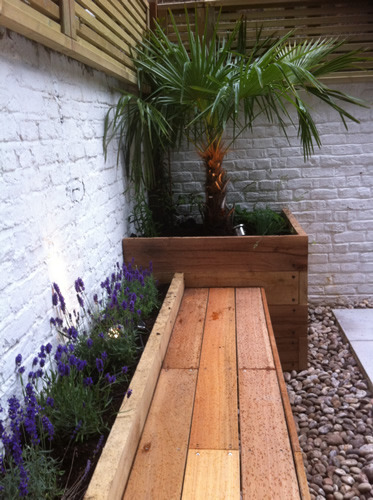
If you remember reading my garden inspiration post then you will know that I am partial to a raised flower bed. Especially when it incorporates a seating area. Since I posted about my inspiration I found the below photo on Pinterest and fell in love with the design. The flower bed with the built-in bench allows you to get that bit closer to nature and I think it looks great too. I've decided that I want our rendered walls to be a dark grey - I've been loving the look of grey in the garden (as well as the home) for quite some time and seeing Sian's post over on Moregeous confirmed it for me. A deep and dark grey colour will allow the natural colours of the foliage and flowers to truly pop and stand out. I know that picking out colours is jumping the gun a bit because we are yet to dig the hole for the foundations. It's good to have goals, right? ;)
Olive Garden Design and Landscaping Ltd
Our design:
As mentioned above, the raised bed and seating area were non-negotiable so with the help of my super talented brother we've come up with a design which incorporates both. Perfect! I really liked the 'L' shape as it allows for extra seating and nicely links the flower bed with the decking area. 


To add another texture and area into the garden we're going to be looking at laying some artificial grass, on the right side of the gate as you look into the garden from the house. You might be wondering why we don't just lay some real grass but trust me, there is some logic behind this decision. That side of the garden is quite often shaded by the boundary fence and so grass would not happily grow in that corner. Our next-door neighbours used to have some real grass which looked mostly patchy and so they got rid of it. The flower bed has been positioned in the opposite corner as it gets more sunlight making it a better spot for the plants I'd like to grow. 

The grass won't be laid until the majority of the other work is completed but we should be going to have a look at some suppliers soon to get an idea on price. If you've used any artificial grass then please let us know what you think any recommendations will be gratefully received. 

What do you think of our design? Do you have any tips about building raised flower beds?

Claire x
SHARE:

Thursday, 11 June 2015

Garden Revamp 1.0

Our garden revamp is well and truly underway! But first, allow me to whisk you back to where we started:
Our small garden back in 2013
The above photograph is of our garden two summers ago when the decking area was first completed. It all looked rather lovely. We had two flower beds on either side of a Yorkshire stone path (not visible in this picture) that allowed you to walk from the gate to the decking. Surrounding the path and the beds we had used bark to keep any weeds at bay. It was quite a rushed and fairly cheap job but it suited our needs at the time.  

An extremely overgrown back garden
Fast forward to more recently and, as you can see above, I felt out of love with the flower beds to the point where I completely neglected them. They inevitably became overgrown and started to look a lot more shabby than chic. As soon as the weather started to brighten up earlier this spring we knew that the garden had to be next on our hit list. That's when I shared a blog post about my Small Suburban Garden Inspiration. 

So where are we up to now? 


The old beds have been demolished, favourite plants have been salvaged, soil has been moved, two tonnes of sharp sand has arrived and basically a giant mess has been made. Nonetheless, I am excited about our progress and hope that we can keep going with this momentum. 

Garden revamp tip:
Even though the old flower beds looked like a disaster area they were still home to several plants that I wanted to keep and eventually replant into the new beds. This included lamb's ear, purple iris and pink geraniums. I didn't have any spare large pots so we had to improvise. My gardening-loving mother advised me that the best way to keep the plants alive during the renovation was to dig them out of the ground, keeping their roots intact with plenty of soil surrounding them and place them in plastic bags with holes in the bottom. In this state the plants have to be watered just as much as you would a pot or hanging basket. 

That's how far we've come up to now. I'll be back soon with more details on our plans.

Claire x
SHARE:

Tuesday, 10 March 2015

Mother's Day Gift Guide

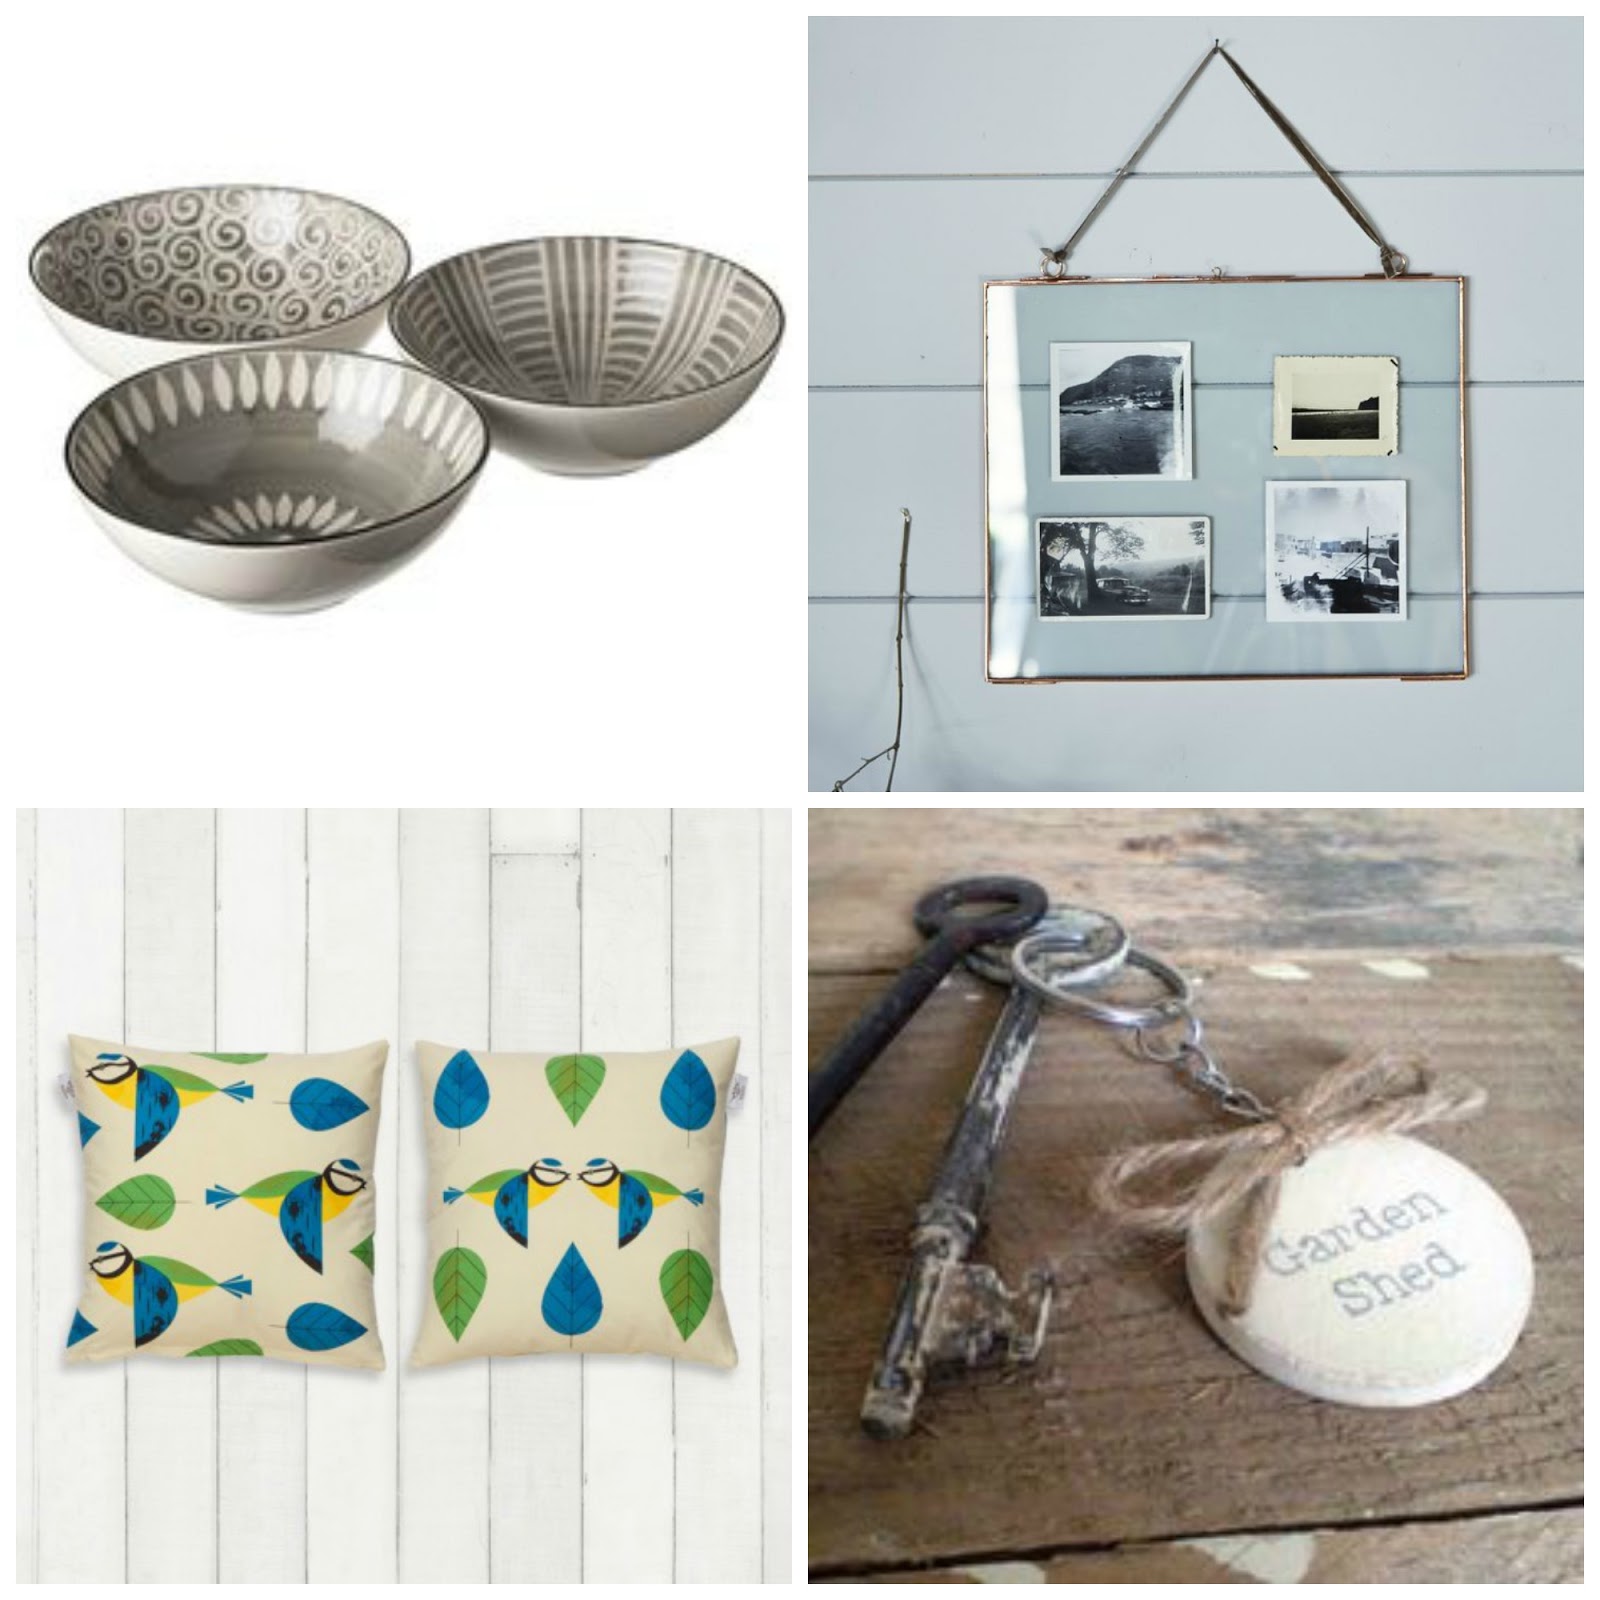
Bowls from House Envy // Copper frame from Cox and Cox //
Blue tit cushions from Live Like the Boy // Keyring from What I Always Wanted
Quick, it's not too late to order something lovely for Mother's Day. I've gathered together a few pieces that have the potential of bringing a smile to your Mum's face this coming Sunday. 

Beautiful bowls for her to enjoy her breakfast. A super cool yet delicate landscape frame for her to display captured memories. A cute cushion for her to get comfy in her favourite chair when doing her weekly crossword. A garden shed keyring because you know that's where she'll be most of the spring and summer.

What Mother's Day gifts have you opted for?

Claire x
SHARE:

Wednesday, 4 March 2015

Small Suburban Garden Inspiration

As thoughts of Spring creep into my head I cannot help but ponder how I want to update our garden. We live in a Victorian terrace and we have a small front yard, a back yard and a small garden. It's quite a lot of garden considering the bijou size of our house. A couple of years ago we added a decked area to the back garden which you can see here but our old wooden planters are now looking very sorry for themselves. The non-decked area desperately needs attention. It's a task that needs doing but we don't have much budget for it, so we really need to think about what changes we want to make and how we can do them rather cheaply. 

I want some sturdier planters and am considering faux grass (living grass would not survive for very long as the area we're updating does not get enough sun and we have a puppy who loves digging up grass - not a good combo.)

I've collected a selection of inspiration shots, all of which include flower beds made from a variety of materials. Let's take a look...

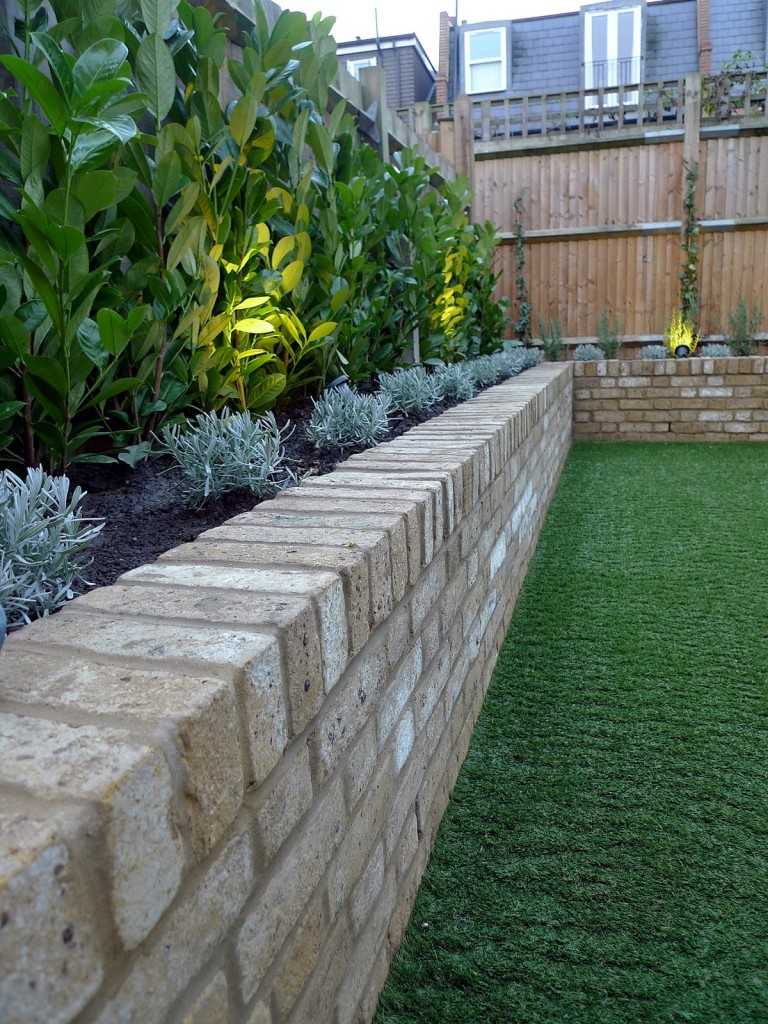
As much as I love the look of railway sleepers, I'm not sure our budget will stretch to them
Rendered walls look good, but I think white would be a bad idea, on account of the amount of rain Manchester sees on an annual basis
Brick walls would look classic and in keeping with our house but we would probably need to hire someone to make them

I'd like to create a bench area around some of the planters to create extra seating space
Which is your favourite look? Have you designed your own garden, or have you hired help?

Claire x

Sources:
1 \ 2 \ 3 \ 4 \ 5
SHARE:

Wednesday, 23 July 2014

2 / One Pic Wednesday

Source
Festoon lights are the way forward. Ever since Rebecca, over at Florence Finds posted about them about a year ago, I've been coveting these twinkly outdoor magic makers.  They seem to have the ability to make any garden scene Pinterest-worthy.  Well, that's what I'm hoping.  I want them and I want them bad.  I can just picture myself sipping a G&T, chatting the night away with friends under the above picture's twinkly sky.  Have you used string lights to bring a bit more atmosphere to your garden? Or do you think they look borderline Christmassy?

Claire x
SHARE:

Wednesday, 16 July 2014

One Pic Wednesday

Source
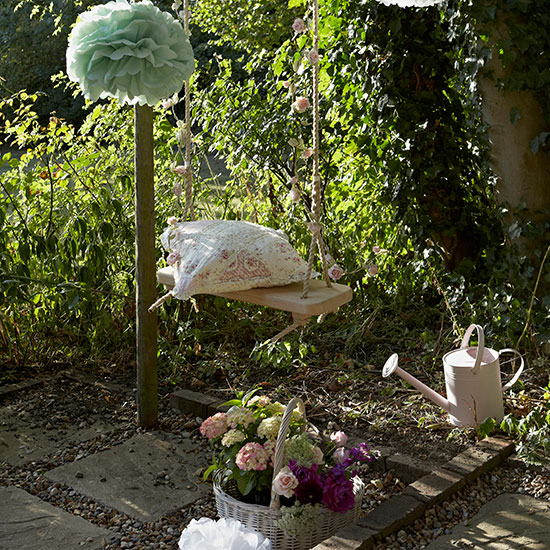
There's something about the English Summertime that transports me back to my childhood.  The infinitely long school holidays, complaining of boredom to our Mum on the rainy days but most of all being outside as much as possible.  As an adult I have restrictions that prevent me from living my outdoors-everyday dream, especially considering I work in an office block, but I want to enjoy our garden and outside space as much as possible whilst the sun keeps his hat on.  We're hoping to give it a little spruce up as extra encouragement. The above picture seems like a perfect spot to sit and reminisce.  We've got quite a few trees at the back of our little garden plot, perhaps we could add a swing?  

Thanks for stopping by!

Claire x
SHARE:

Monday, 12 August 2013

British Summertime

I am a little late publishing this post.  Anyway...

The British Isles had recently been blessed with a wonderful few weeks of sunshine.  (Yes, it is summer and this is what we should expect but the UK weather god tends to forget that part.)  Cue my husband and I deciding we would sort out our rectangle of mud  garden.  Pre-makeover, I was ashamed of it and banned family and friends from even looking at it, never mind actually going in it! 


(Ok, so the above is not my garden - but you get the picture)
The main reason for my embarrassment was that I had been trying to avoid investing any money in the garden because, in reality, we hardly ever got to use it.  However, a few days of sunshine soon got me thinking differently!  


Before - nasty broken paving slabs (and Bella saying 'hi')
First port of call was pinterest to get some ideas.  You can see my garden inspiration board on my account here.  Feel free to follow and I will happily follow back :-)

Luckily the OH has a work colleague who knows his stuff about decking and so the new patio area was soon built and looking lovely.  We also replaced the broken and battered fence panels with new.  


Decking in progress
Now, I am sure there are some women out there who can relate to this next part...my husband wanted a 'man shed'.  This was none-negotiable and so like a spaceship landing from another planet the new shed was erected in next to no time.  I wasn't quite expecting it to glow the orange hue that it currently does but apparently this will calm down over time (here's hoping!).  


Finished product - shed and all
Lovely lavender
Finally got to hang our honeymoon fish!


Our thriving bedding plants 
Rose plant - sorry I don't know it's name


So a few bedding plants later and there you have it. Our finished garden!  (for now)

CB

All photos are by me 
SHARE:
Blogger Template Created by pipdig